Partnered with


CLINICAL WORKFLOW
A Beginner Workflow Guide for Dental Laboratories and Clinics
Dental 3D printing is no longer experimental. It is a predictable, repeatable workflow used daily by clinics and laboratories worldwide. This guide covers the complete process from scan to finished aligner appliance using a structured production approach.
- Follow a repeatable workflow
- Represent true production use
- Quickly reveal whether the workflow is controlled
- Build the foundation for surgical guides, splints and other appliances
Why Start With Aligner Models?
Aligner models are the ideal entry point into dental 3D printing. They follow a repeatable workflow, represent true production use, and quickly reveal whether the process is controlled.
Once this workflow is established, the same production discipline applies to surgical guides, splints, retainers, and other dental appliances.
7 STEPS TO YOUR FIRST ALIGNER MODEL
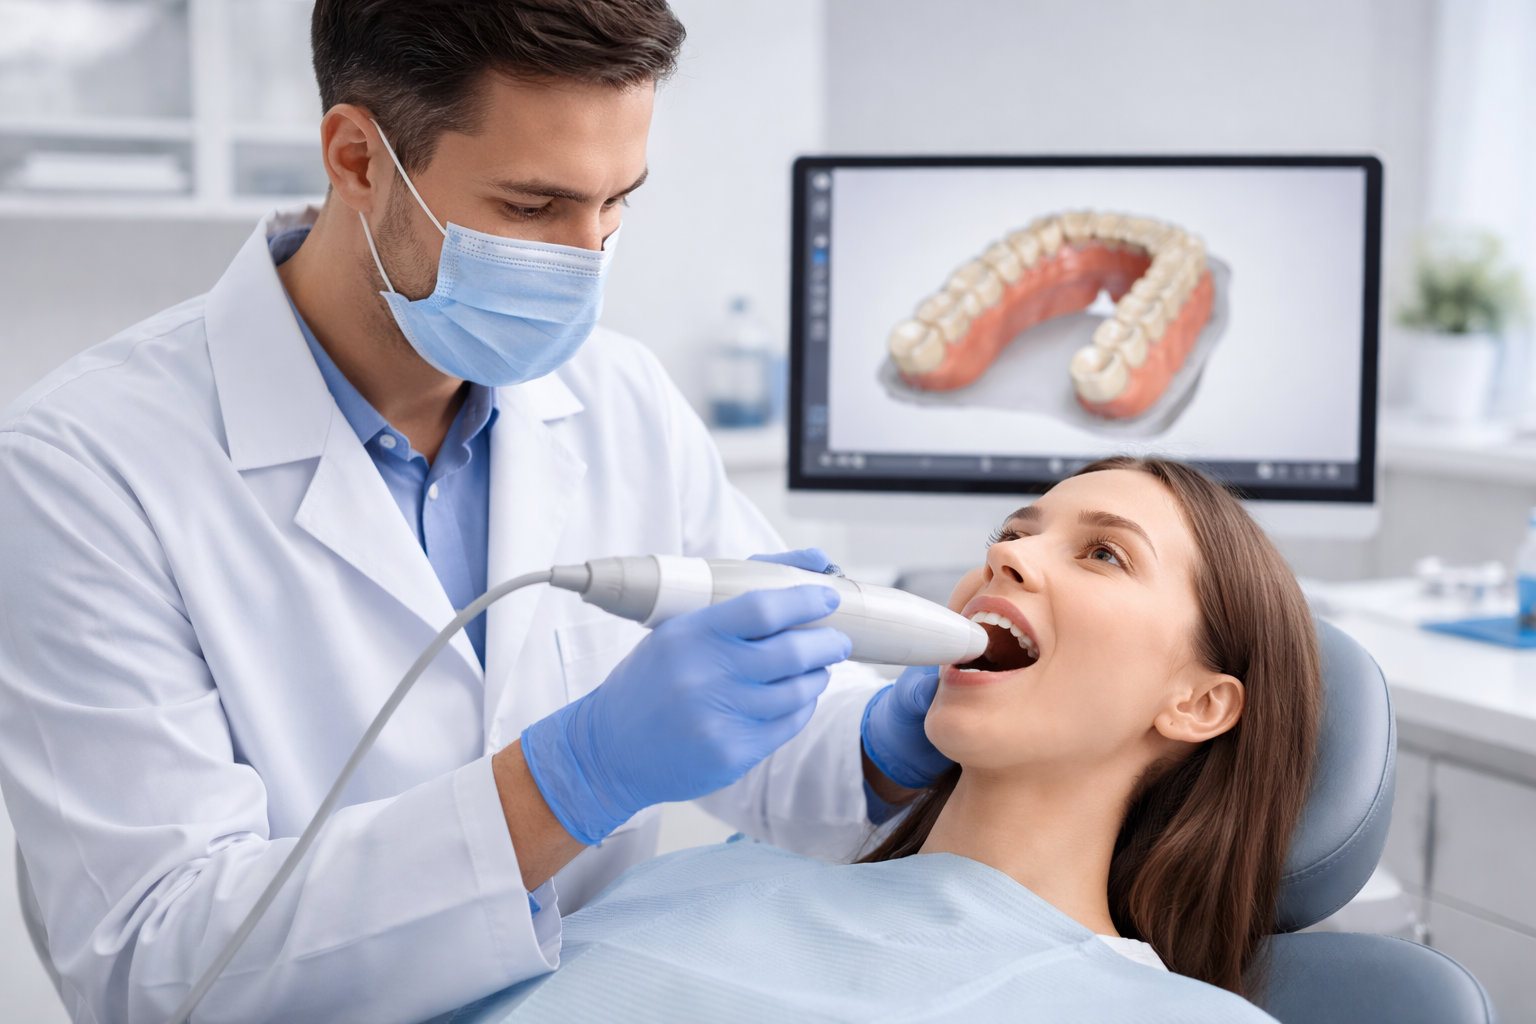
Step 1: Receiving or Capturing the Scan
Goal: obtain an accurate digital impression in STL format
Scans may come from intraoral scanners such as Trios, Medit, iTero or Primescan, or from desktop lab scanners. Before working on the file, inspect the scan carefully. Check that full molars are captured, gingival margins are visible, there are no holes in occlusal surfaces, contacts are readable, no major artifacts or floating geometry are present, and the bite scan is aligned correctly. If the scan is poor, printing will not fix it. Always verify before designing.
File Format
- Export or request STL format (preferred)
- Name files consistently: PatientName_Date_Upper.stl
A poor scan cannot be fixed by printing. Verify the scan quality before proceeding to design.
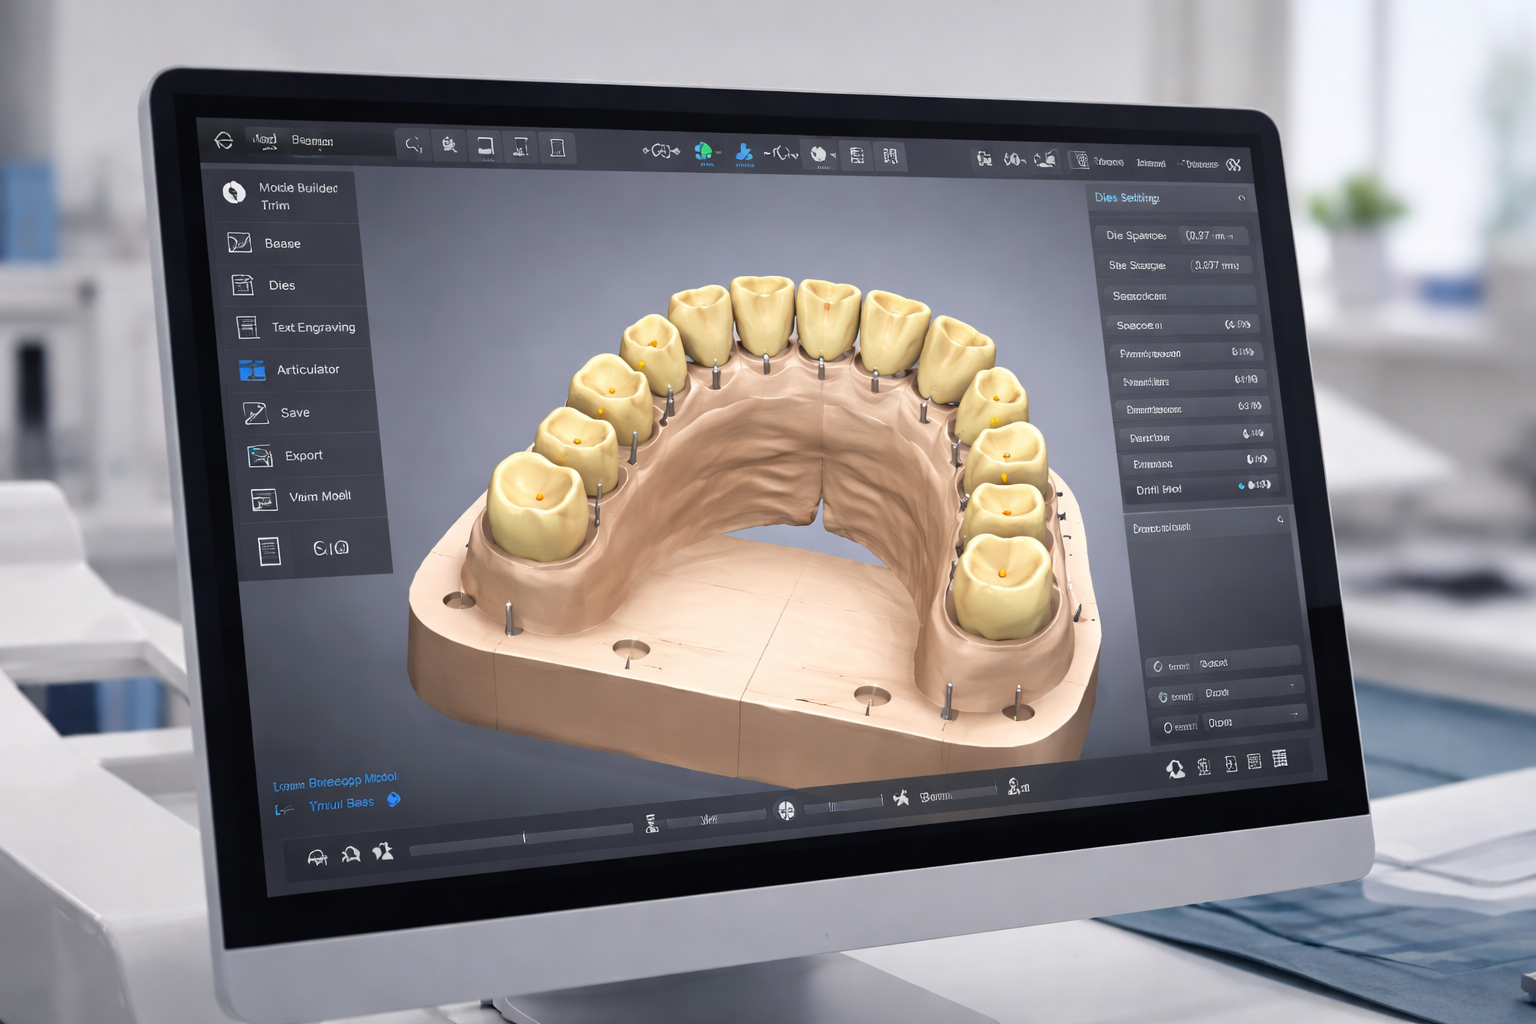
Step 2: Model Preparation (Dental CAD Software)
Prepare a printable working model, not just the raw scan
Common dental CAD software includes 3Shape Dental System and Ortho Analyzer, exocad Model Creator and Ortho Module, Medit Model Builder, and BlueSkyPlan. Work through four preparation tasks in sequence.
Clean the Scan
- Remove scan artifacts
- Remove floating triangles
- Remove excess soft tissue
- Fill small holes if needed
Create the Model Base
- Base height 5 to 10mm
- Flat base for thermoforming
- Vertical walls
- Do not hollow the model
Block Out Undercuts
- Use automatic block-out or orthodontic smoothing
- Prevents plastic locking onto model
Trim Gingiva and Add Identifiers
- Trim approximately 2 to 4mm below gingival margin
- Add patient initials, stage number, and arch to model
A stable flat base prevents thermoforming distortion. Always add identifiers before printing.
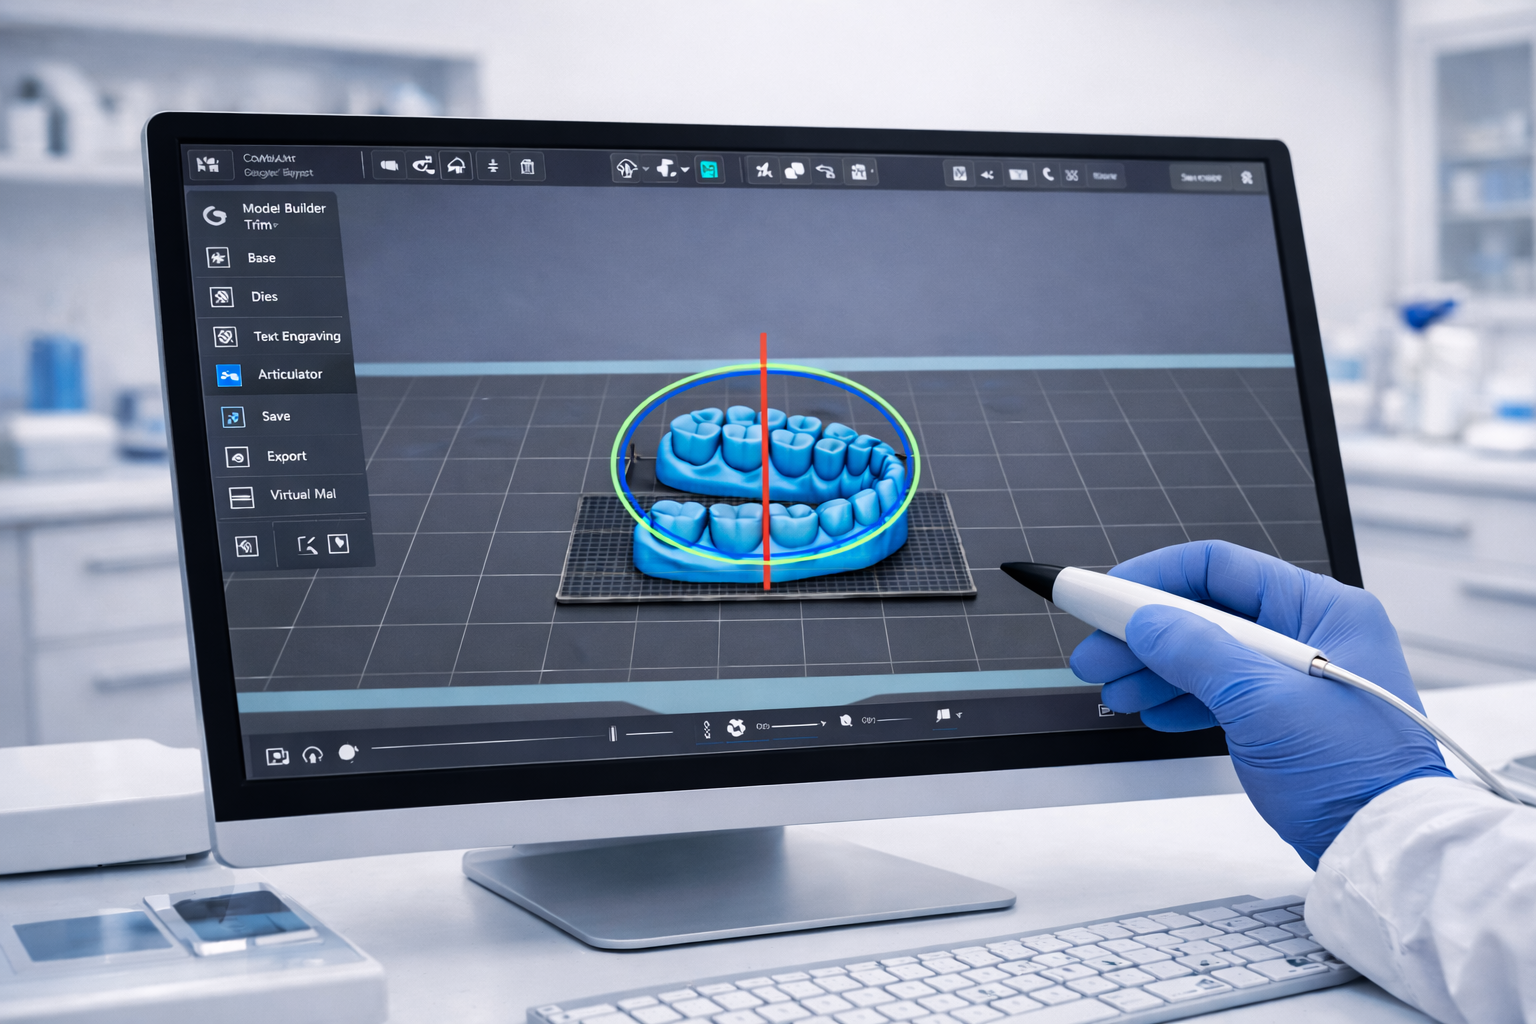
Step 3: Prepare the Print (Slicer Software)
Open the STL in your printer slicer software
Common slicer options include Phrozen DS Slicer, Chitubox Dental, and Lychee with dental profiles. For aligner models, flat orientation on the build platform at 0 degrees gives the best accuracy. This reduces distortion and improves appliance fit. Use minimal or no supports on tooth anatomy. Never place supports on cusps, incisal edges, or contact points.
Layer Height Settings
- 100 to 160 microns for production speed
- 50 microns for high accuracy cases
Flat orientation on the build platform consistently produces the most accurate aligner models.
Step 4: Resin Selection
Choosing the correct resin is as important as choosing the printer
For clear aligner model production, the goal is not biocompatibility as the model never enters the mouth. The goal is dimensional stability and resistance to thermoforming heat. A good aligner model resin should hold fine detail and margins, resist softening during vacuum forming, maintain dimensional accuracy after curing, produce a smooth surface so aligners stay clear, and be easy to clean and repeatable to process.
3D Cast Recommended Resins
- Phrozen Dental Ortho, dedicated dental workflow
- Phrozen Aqua-Gray 4K or 8K, standard resin
- Phrozen Water-Washable Model Gray, simplified cleaning
- Phrozen TR250LV or TR300, higher heat resistance for pressure forming
Once a resin is chosen, keep the same exposure settings, wash time and cure cycle so results remain predictable.
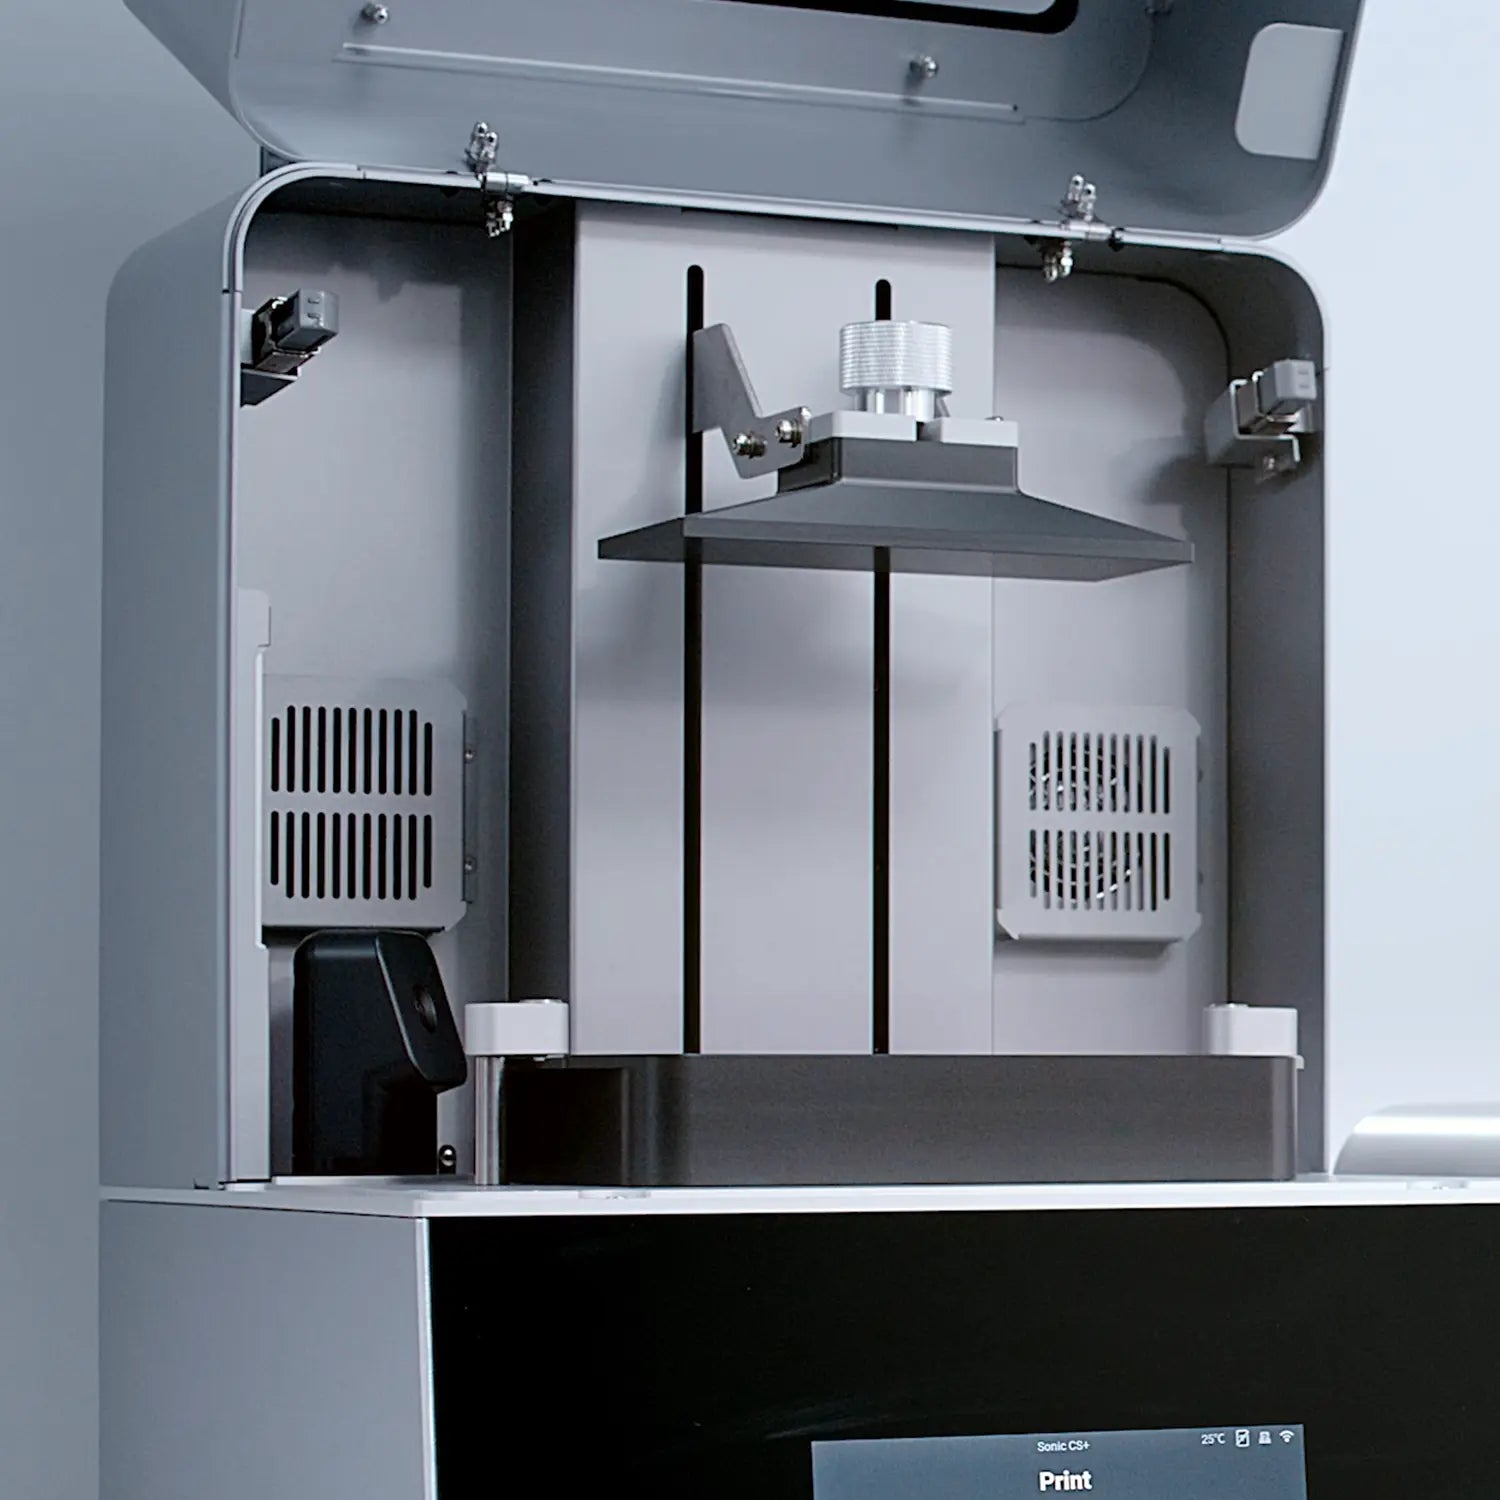
Step 5: 3D Printing
Four steps to starting the print correctly
Shake the resin bottle thoroughly before filling the vat. Fill the vat to the recommended level. Start the print and confirm the first layers adhere to the build platform before leaving the printer unattended. Typical print time for aligner models is 20 to 60 minutes depending on layer height and number of models.
Print Checklist
- Resin bottle shaken thoroughly
- Vat filled to correct level
- Print started and first layers confirmed
- Printer checked before leaving unattended
Confirming first layer adhesion before leaving the printer prevents failed prints and resin spills.
Step 6: Washing and Post-Processing
This stage strongly affects final accuracy
Post-processing has the greatest impact on dimensional accuracy after print orientation. Follow each stage carefully and in sequence.
Wash
- First wash in IPA or dedicated wash solution
- Second clean rinse in a purpose-built wash station
- Total wash time 3 to 6 minutes
Dry
- Air dry in a dark cool place
- Or use compressed air to speed up
- Ensure completely dry before curing
Remove Supports
- Carefully cut supports
- Lightly smooth contact points
- Avoid damaging tooth anatomy
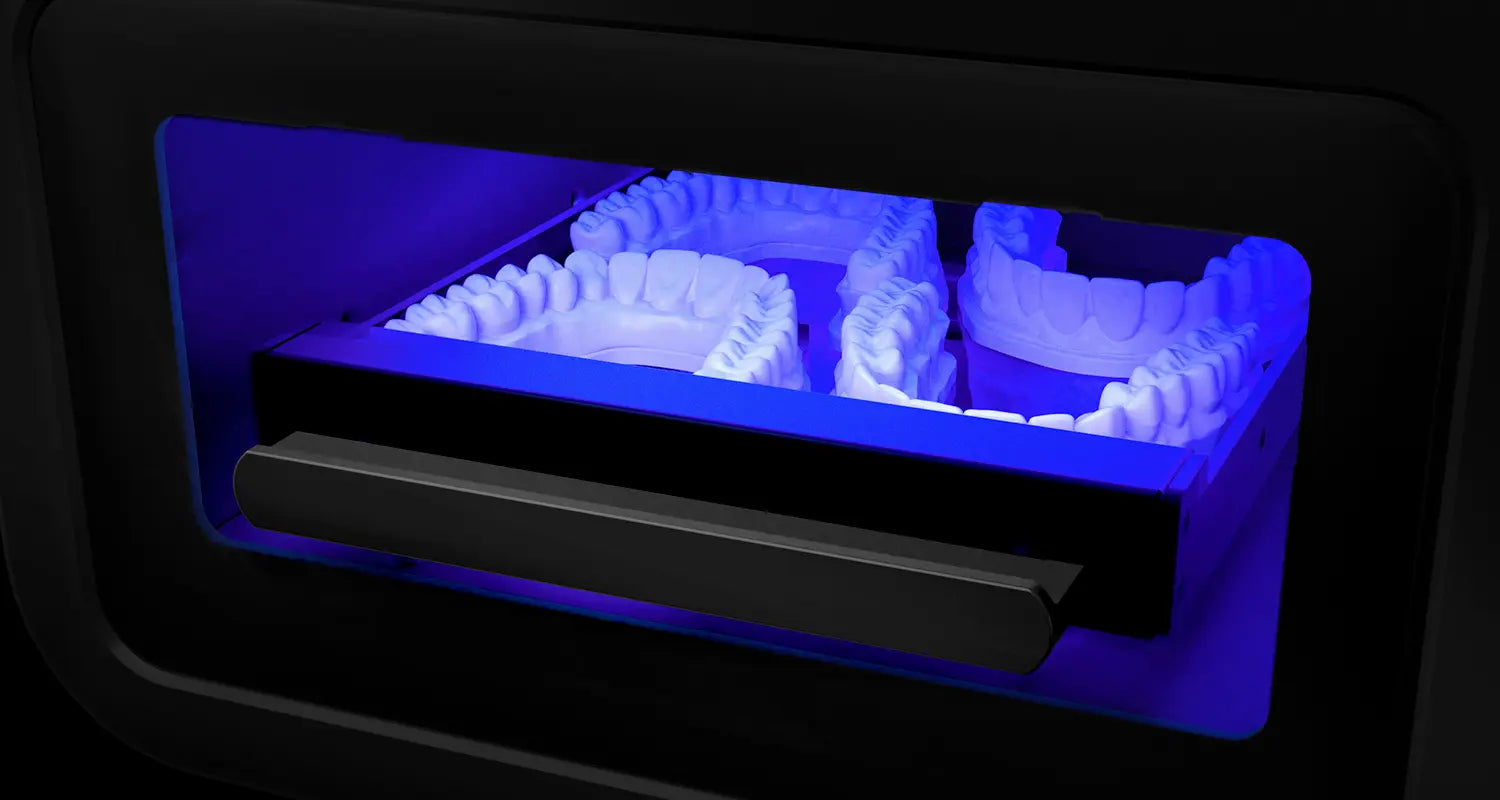
Cure
- Cure using dental curing unit
- Follow resin manufacturer instructions
- Correct curing provides heat resistance for thermoforming
Always ensure models are completely dry before curing. Residual solvent causes surface defects and dimensional errors.
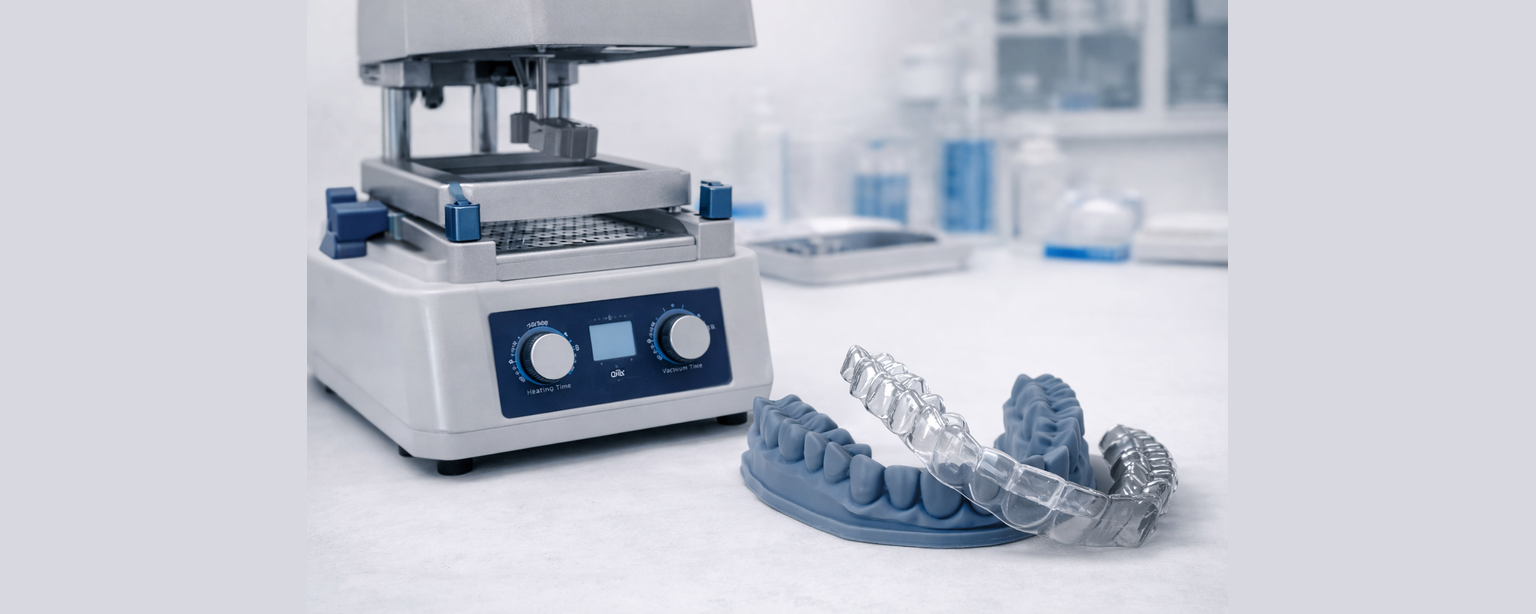
Step 7: Thermoforming the Clear Aligner
The digital workflow meets the clinical workflow
Once the printed model has been washed, fully cured and inspected, it is ready for appliance production. A thermo vacuum or pressure moulding machine forms the aligner material over the model. Before forming, ensure the model is completely dry, confirm no uncured resin remains, remove any sharp support marks that could tear the plastic, and allow the model to cool after curing if recently processed. Place the model centrally on the forming platform, heat the aligner sheet according to manufacturer guidelines, lower the heated material over the model, activate vacuum or pressure forming, and allow the material to cool fully before removal.
Important Tip
- The quality of the aligner is determined by the model
- If the model is accurate and stable, the appliance will fit predictably
- Most fit issues occur due to incomplete curing, overheating, or removing the aligner before cooling
Incomplete curing or residual solvent causes distortion during heating. Always cure fully before thermoforming.
WORKFLOW SUMMARY
7 Steps to Your First Aligner Model
Chairside Clinic
- Receive intraoral scan
- Prepare model in CAD
- Slice at 0 degrees flat
- Print in model resin
- Wash and cure
- Inspect model
- Thermoform aligner
Dental Laboratory
- Receive STL from clinic
- Prepare model in lab CAD
- Slice with validated profile
- Print in batches
- Two-stage wash and cure
- Quality check all models
- Thermoform or send to clinic
Get Started
Ready to Start Printing Aligner Models?
3D Cast supplies the complete workflow. Printers, resins, wash stations and curing units from Australian stock with same-day dispatch and expert support.
Understand the Full Phrozen Dental Ecosystem
Successful dental 3D printing depends on more than hardware alone. Resin compatibility, post-curing validation, and workflow stability all play a role in predictable clinical outcomes.
If you would like a broader overview of Phrozen's dental materials, validated workflows, and application suitability for clinics and labs, you can explore our dedicated information page below.
Partnered with
3D Printing Dental Model for Thermoformed Clear Aligners Frequently Asked Questions
Do I need a dental lab to start making aligners in-house?
Do I need a dental lab to start making aligners in-house?
No. Modern intraoral scanners, dental CAD software and resin 3D printers allow clinics to produce aligner models chairside. Many clinics now manage scanning, model production and thermoforming themselves while outsourcing only treatment planning if desired.
Is dental 3D printing difficult to learn?
Is dental 3D printing difficult to learn?
Not really. The workflow is very repeatable:
Scan → Design → Print → Wash → Cure → Thermoform
Once your first few cases are completed, most clinics find the process becomes routine and predictable.
How accurate are 3D printed dental models?
How accurate are 3D printed dental models?
Dental resin printers routinely achieve accuracy within ±50 microns when using validated workflows.
This level of accuracy is suitable for:
• Clear aligners
• Retainers
• Study models
• Surgical guides (with approved materials)
Accuracy depends more on workflow consistency than printer price.
Do I need a specialised dental 3D printer?
Do I need a specialised dental 3D printer?
Dental-specific printers are designed for regulated materials and validated workflows and typically deliver the most predictable results.
However, many clinics successfully begin using high-resolution professional resin printers. While dental-grade printers deliver the best results, you can also produce accurate aligner models using printers such as the Phrozen Mighty 12K, Revo 14K or Revo 16K. When space is limited, compact printers like the Phrozen Mini 8KS are commonly used as an entry-level starting point.
How long does it take to print a model?
How long does it take to print a model?
Typical production times:
• Scan: 3–5 minutes
• Design: 5–10 minutes
• Printing: 30–60 minutes (multiple models at once)
• Wash & cure: 10–20 minutes
Most clinics produce same-day aligner models.
Can I print multiple aligner models at once?
Can I print multiple aligner models at once?
Yes. This is one of the biggest advantages of dental resin printing.
You can batch print a full aligner stage set in a single job overnight.
What resin should be used for aligner models?
What resin should be used for aligner models?
A rigid, high-detail model resin is recommended.
High resolution model resins are commonly used because they:
• Hold fine margins
• Resist thermoforming heat
• Maintain dimensional stability
• Provide smooth surfaces for clear aligners.
Speak to us for our recommendations to suit your needs.
Do printed models shrink or warp?
Do printed models shrink or warp?
Not when properly cured.
Warping typically comes from:
• Insufficient post curing
• Overheating during thermoforming
• Incorrect orientation
• Poor support placement
A validated curing workflow prevents this.
Do I need special software?
Do I need special software?
You should use dental CAD software rather than general 3D modelling software.
Dental CAD automates:
• Base creation
• Undercut blocking
• Trimming
• Model hollowing
• Articulation
This dramatically reduces learning time.
How often do printers need calibration?
How often do printers need calibration?
Very rarely. Modern resin printers are pre-calibrated.
Maintenance usually involves:
• Cleaning the vat
• Replacing film periodically
• Keeping optics clean